Monday, August 29, 2011

A Little Fall Decoration Inspiration

Like most everyone else, I can't believe Fall is almost here.  It has been such a great Summer!  As I shared in "Some of My Faves About Summer" I love summer!  I have really enjoyed it this year; have spent a lot of time with family.  It has been such a joy to have grand kids here a lot!

 I usually don't rush Fall decorating.  As a matter of fact, I don't go overboard with it at all.   There are some who have already started decorating for Fall.  I like a subtle transition from Summer to Fall.  So that's what I
tried to do in this mantle makeover....using flowers that are still in bloom, but those which have a feeling of fall because of their purplish color.


 First of all  I took a nature walk and gathered up some green hedge apples and cut some purplish flowers off of a Butterfly Bush (I think that's what it's called,)  and then I went shopping.....under the kitchen sink for the old metal pitcher to put the silver things in.  Then I found me some limes from some deep abyss in the pantry and a dark colored wooden bowl that my husband brought me from Costa Rica a few years ago to put the limes in.  I found a mirror upstairs that I put over the mantle as a backdrop  "It is really old"!  To the right of this little vignette, I put one of my favorite pieces.  It is an old handmade fiddle.  (One of my son-in-laws let me keep it, and it cracks him up that I use it to decorate with.  I love it!) 


The wall looks blue in this picture.  It is not blue.  It is actually white.


Well, maybe my old metal container (which belonged to my grandmother, btw),  is not quite as elegant as I would like it to be, but it serves the purpose. 

OK, guess I'm ready for Fall now!

Tag on Bag

Wrapping gifts and making them look pretty and different is one of my favorite things to do.  I really don't like to use the gift bags.  I know they are very convenient, quick and easy and pretty, but I just think when you give someone a gift that you have taken the time to wrap, it makes them feel like you really care about them.  Maybe that's just the way I feel.  I don't know. 

Anyway, I usually try to do something really unique and different when I decorate a gift.  This past Saturday, I went to a bridal shower, and I succumbed to using a gift bag.  It was a beautiful white on white with velvety embossed flowers on it.  The bag was pretty enough, but I wanted something extra.  

Here's what I did.
(Hang on..... this is REALLY simple,  I promise!)

 I had actually bought the card with this idea in mind. I took the ribbon handle that was in the bag and tied it to the ribbon on the card on the outside of the bag. The card had an opening in it which said, "A Wedding Wish".


I know, it's just simple little project, but it kinda changes it up just a little.  It works when you are in a hurry.  The person you are giving the gift to doesn't have to open the envelope, and it is easy to get to to see who gave the gift. 
Just make sure the bag and the card match or compliment each other.

OK, so that's my "Gleaning" for the day.  I hope someone can use this idea.

Saturday, August 27, 2011

Blogging via email ......It worked!

Once again I'm trying to see if I can email a post to my blog with a picture attached.  I followed the instructions.  Let's see if this works.

--
Gail

Friday, August 26, 2011

Blogging from a Different Angle

I am hoping to be able to send a blog post through email. The main thing I want yo do is learn how to send pictures to my blog. I haven't been able to this since I've had this iPad. Please work! : )

Thursday, August 4, 2011

From Barn to Charm!

This is a project that has been an on going, Summer, project. We bought these (there's two, but I'm only showing one throughout this post) night stands at an estate sale early in the summer for a whopping $10.00 a piece! This was at an old horse farm in our area that I didn't even know existed. They were selling the house furnishings (which was a huge old house), all the outside equipment and all the barn "stuff". The barn is where we found the night stands. I think from the looks of them, they had been stored there for a looooong time! They were in pretty bad condition as you can see.


  I know, you're probably thinking, "what were you thinking?"!  These are ugly! They were, but I could see potential in them, and I could tell they really were "nice" nice as in quality and as in being solid wood, and  remember the $ tag ?......only $10@, and did I mention, they are French styled? (my favorite style of furniture)!  But I do admit, they looked pretty bad!
Not to mention the smell.  Oh, maybe I shouldn't have!  Well, they did come from a barn!  Also in their "better days", they must have belonged to a nice, little, southern lady, because there was also a smell of talcum powder mixed with a moth ball smell!  WAIT, please don't quit reading.  It gets better.....Ha Ha!  Some of the table drawers were lined with contact paper, there were straight pins in the corners and edges.  (Our little, old, southern lady must have been a seamstress too!)  Of course there was dirt and, hold on, there were spiders (dead ones of course)!  WHAT WAS I THINKING?!?!  I can't believe that recently I have actually been considering trying to start a business of refurbishing old furniture.  I don't think I was thinking!

We started working on them early on, but because of our busy Summer schedule, we were not able to work on them as consistently as we would have liked.

We have only had time to work on one so far. Lots of steps have to be taken to get this project from "barn to charm"!


First, while my husband sanded and sanded and sanded some more, I cleaned  the inside. I removed the wonderful contact paper (yuk!), and cleaned and cleaned and cleaned some more! Just call me the "Clorox Kid"!
After we got it cleaned and sanded, (believe me, it got the best cleaning it had ever had in it's life from me! Let's say bleached!, we coated it really good with a sealer. Then we let it set outside in the hot summer heat for weeks. Then the grandkids came and it got put on hold for weeks! That is ok, though!


 Anyway, here it us the end of October, and we are starting again. I am so pleased to tell you that all the steps we took and especially the sitting outside in the heat for weeks, took care of the smell. It no longer has the old, mothball, talcum powder smell. I'm glad, cause I don't know of I could have taken that since these are going in our room as nightstands.

I'm excited because we just got a new mattress and it sits so much higher than our old nightstands, that it is hard to reach anything from the bed. Our charming barn nightstands are much higher. I believe they will be just the right height.

Anyway, as of this week, Oct, 27, 2011 after more sanding and a coat of this paint,  (I decided to use a oil base paint and have as sleek of a finish as I could),
It is beginning to look a little more charming! 
Maybe not quite there, but close!  Just hang on! 


Ok, after more sanding and a second coat of paint on the outside as well as a second coat of sealer on the inside, it is  time for the "big reveal"!  Ta da!  I'm excited!


These are the original handles spray painted  with this paint:  Krylon Brushed Metallic, Satin Nickel
The following are just pictures of the finished project.  (well, there's a couple of tweaks that have to be made, such as the drawers need to be put in to fit just a little better.  That will have to wait until my husband gets back from an out of states missions trip.  He's the one who fixes these kinds of things!) 

Sure am glad the height of the table matches the height of the bed! 


BEFORE!

AFTER
Whew!  That was a lot of work, but I think well worth it, I think!  I hope you like them too!  I don't want to sound conceited at all, but I do think a good name for this little nightstand project is, "From Barn to Charm"!  What do you think?  Do you think they are charming?  What do you think about my opening up a furniture refurbishing business?  Well, never mind about the last question!!!

So there you have it!  I am so glad to have rescued this little nightstand from the spiders, dirt, etc.  The only thing is we have another one just like it waiting......probably until next summer!

Linking up to:  Beneath My Heart's October DIY linky party.

                      My Uncommon Slice of Suburbia's Tuesdays Treasures

Wednesday, July 20, 2011

Looking to the Hills

When I look to the hills, I am filled with a feeling of "all is right" in the world. Maybe it's because my "roots" come from the hills. Yes, just like some of the huge, magnificent trees with roots pretty much as big as the trees themselves, going deep into the rich soil of those hills, that's how grounded I am in those hills.

I can glean a lot from those hills; strength, rest, beauty, and inspiration. However, the greatest thing I get is help. As it says in Psalm 121:1, "I will lift up mine eyes unto the hills' from whence cometh my help." The next verse says, "My help cometh from the Lord, which made heaven and earth". So when I look at the hills, I am reminded of the help that is always available to me from the Lord. In fact another verse in Psalms says, that God is "a very present help in trouble". I'm so thankful for this!

I could go on and on about the hills, but my daughter said it so well in her post, Going To the Hills, she did a couple of years ago. For some reason, I am having trouble linking up to anything, so if you would like to see this, you can go to Pleasant Lines - Pleasant Places . Blogspot.com. Going To the Hills. She would appreciate it as well as me. I think she must feel the same way I do about the hills!


the hills through her eyes. I believe you will be inspired, encouraged and uplifted!

Thursday, June 30, 2011

Time to Tile!

"We"   (I'm smiling sheepishly right now because my husband did all the work) , finally jumped into a project that we had been putting off for a looooong time.  That is to tile the bathroom upstairs that goes between two guest rooms.  We actually have had the tile for a couple of years now.  It was just one of those things that we kept procrastinating about.  I know no one else ever does that! : )  When company was coming for a few days, that got us hopping.  As a matter of fact, there were other projects that were completed as well; one being a new microwave oven installed  (YAY!  Can you see the big grin on my face?)  by none other than, you guessed it, my DIY husband!

So slowly, but surely, (cause my DIYer is also a perfectionist), things are getting done.  I love it! 

The flooring that was in the bathroom (which I forgot to get a picture of) had been there since the house was built, 17years ago and it was uuuuu ga ly! Not to mention worn out.  It literally had a hole in it that I had to cover with a rug.  So, it was time for the tile!

These first pictures are of the bathroom after the vinyl flooring had been ripped out, and before the tile was laid. The "before" pics, I guess you can say.


It got worse before it got better!


Cutting the board that goes under the tile.


Bringing the board upstairs.  He made a lot of trips up and down these and the basement steps.  He was pretty tuckered out after this.  We are not getting any younger, you know!  He enjoys this kind of stuff, though.  I sure am glad!  He has gotten some experience at laying tile in the past couple of years; some for us and some for others.  I don't think he's ready to go into it as a career or even as a hobby.  It's pretty hard work.  Take it from one who knows!  (there's that sheepish grin again!)

 .                                                            Now,  for the "reveal"!

Welcome to the upstairs guest bathroom!


........and here are more "after" pics...........

It looks tons better!  Keep in mind that this is only a renovation of the tile.  The little room also needs to be painted.  I think I have decided to paint it some kind of a gray color and use yellow accents.  Those two colors (I don't know if you can tell by the pictures or not, are actually in the tile.  That's where I got my idea from!  I'm  really smart when it comes to decorating!)  Just kidding!
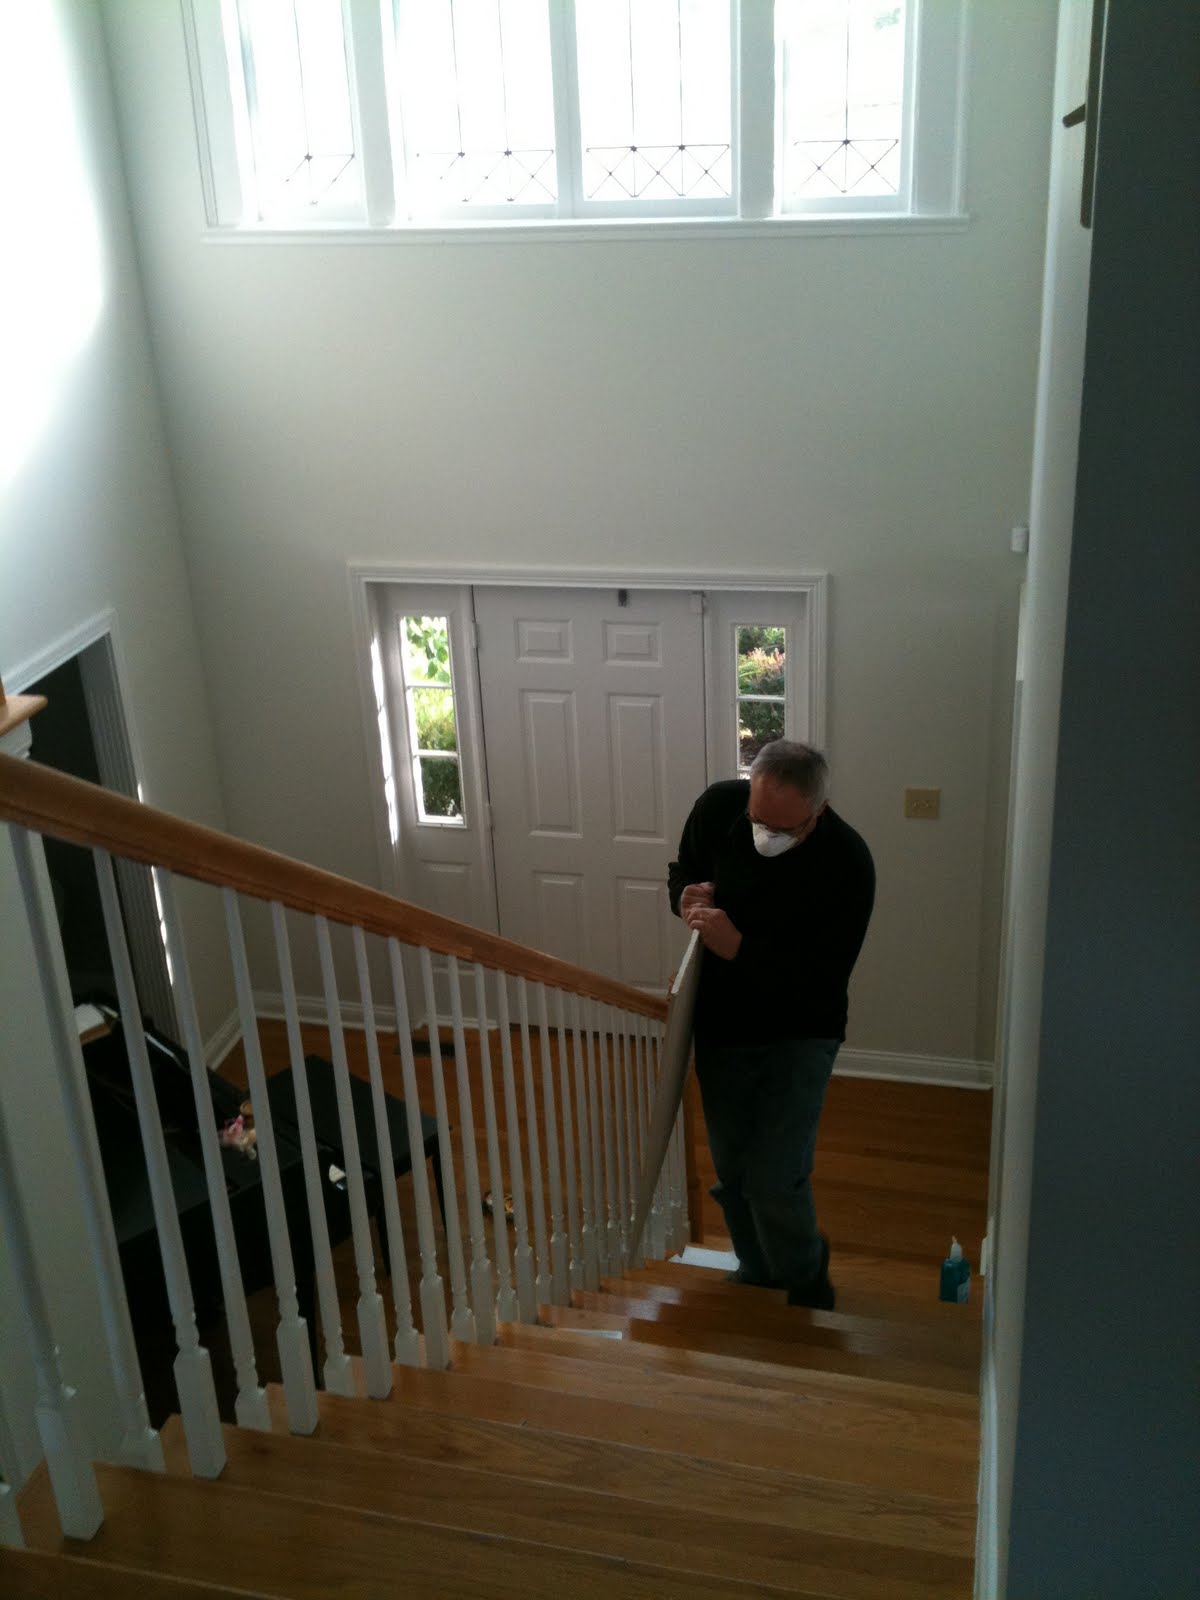


Here are a couple more pictures of this little space to show a little more how it looks.  We may never come this way again! Unless.....it looks really cool when and if I ever get it painted gray!   I really had rather do posts on other rooms than bathrooms!  I kept trying not to get a picture of the commode!  I thought you could probably do without that! 


Yes, I had to put a little "French twist" to this room as I do to most of the rooms in my house.  Le Bain.  Now that doesn't  sound too bad.  Maybe I will do another post on the bath and entitle it Le Bain.  You can be on the lookout for it, ok?  I'm sure you can't wait!

Linking to Beneath My Heart's "Best DIY Project for June" Party.